在 Macbook 上运行 ChatGLM-6B
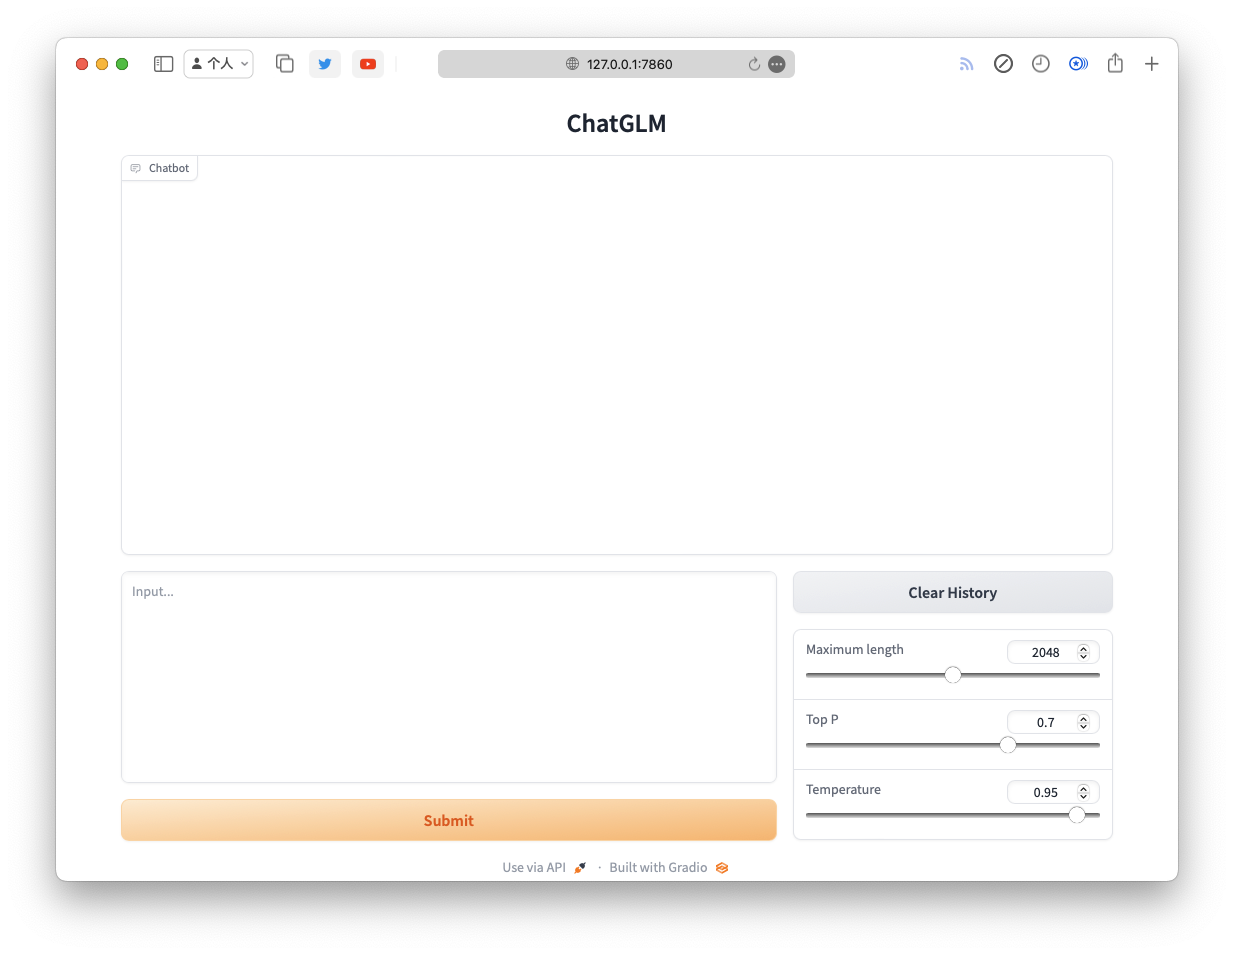 我有一台 32G 内存 Macbook Pro,想要运行大语言模型看能不能替代 OpenAI 的 API。下面是我在 Macbook 上运行 ChatGLM-6B 的步骤。
克隆 ChatGLM-6B 仓库
git clone https://github.com/THUDM/ChatGLM-6B创建虚拟环境
cd ChatGLM-6B
python3 -m venv .venv
激活虚拟环境
source .venv/bin/activate安装依赖
pip install -r requirements.txt

# 安装 PyTorch, 使用 MPS 后端来在 Mac 的 GPU 上运行
pip install --pre torch torchvision torchaudio --extra-index-url https://download.pytorch.org/whl/nightly/cpu
下载模型
cd ..
git clone https://huggingface.co/THUDM/chatglm-6b chatgml-6b-model
修改代码使用 MPS 后端和下载的好的模型
修改 webapp.py 文件。
- 将
.cuda()改为.to("mps") - 将模型和 tokenizer 的路径改为 huggingface 上克隆下来的 chatglm-6b 仓库本地路径。下面我的例子中,本地路径为
/Users/eson/git/chatgml-6b-model。
-tokenizer = AutoTokenizer.from_pretrained("THUDM/chatglm-6b", trust_remote_code=True)
-model = AutoModel.from_pretrained("THUDM/chatglm-6b", trust_remote_code=True).half().cuda()
+tokenizer = AutoTokenizer.from_pretrained(
+    "/Users/eson/git/chatgml-6b-model", trust_remote_code=True
+)
+model = (
+    AutoModel.from_pretrained(
+        "/Users/eson/git/chatgml-6b-model", trust_remote_code=True
+    )
+    .half()
+    .to("mps")
+)
运行
python webapp.py这将会在本地启动一个 web 服务,会自动打开浏览器。