最近开发一个项目 Next.js,部署到 Vercel 上在国内访问速度和稳定性都不太好,所以想部署到自己的服务器上。经过实践后,分享一下怎么用 Github Actions 部署 Next.js 项目到 Linux 服务器上。
服务器环境配置
在服务器要安装 Node.js 和 PM2,然后配置 Nginx。
安装 Node.js
推荐使用 fnm 来安装 Node.js,以后可以方便的使用不同版本的 Node.js。
1 | curl -fsSL https://fnm.vercel.app/install | bash |
安装好后重新 SSH 连接到服务器终端,用 fnm 安装 Node.js。
1 | fnm install 18 |
安装 PM2
我们使用 PM2 来管理 Node.js 进程。以便在服务器重启后自动启动项目。
用 npm 安装 PM2:
1 | npm install pm2 -g |
Nginx 配置
Node.js 项目默认运行在 3000 端口,我们使用 Nginx 来反向代理到 3000 端口。这样就可以使用 80 或 443 端口来访问项目。
在 nginx 配置文件夹 /etc/nginx/sites-available 中创建一个配置文件 example.com:
1 | server { |
然后在 sites-enabled 文件夹中创建一个软链接。
1 | sudo ln -s /etc/nginx/sites-available/example.com /etc/nginx/sites-enabled/example.com |
然后重新加载 Nginx 配置文件:
1 | sudo nginx -s reload |
生成 SSL 证书
安装 certbot 来生成证书并修改 Nginx 配置文件以使用证书。
生成证书:
1 | sudo certbot --nginx |
命令执行后会提示输入邮箱,然后选择同意条款,最后选择要生成证书的域名,然后就会自动的生成证书并修改 Nginx 配置文件和重新加载。
代码拉取 SSH 密钥配置
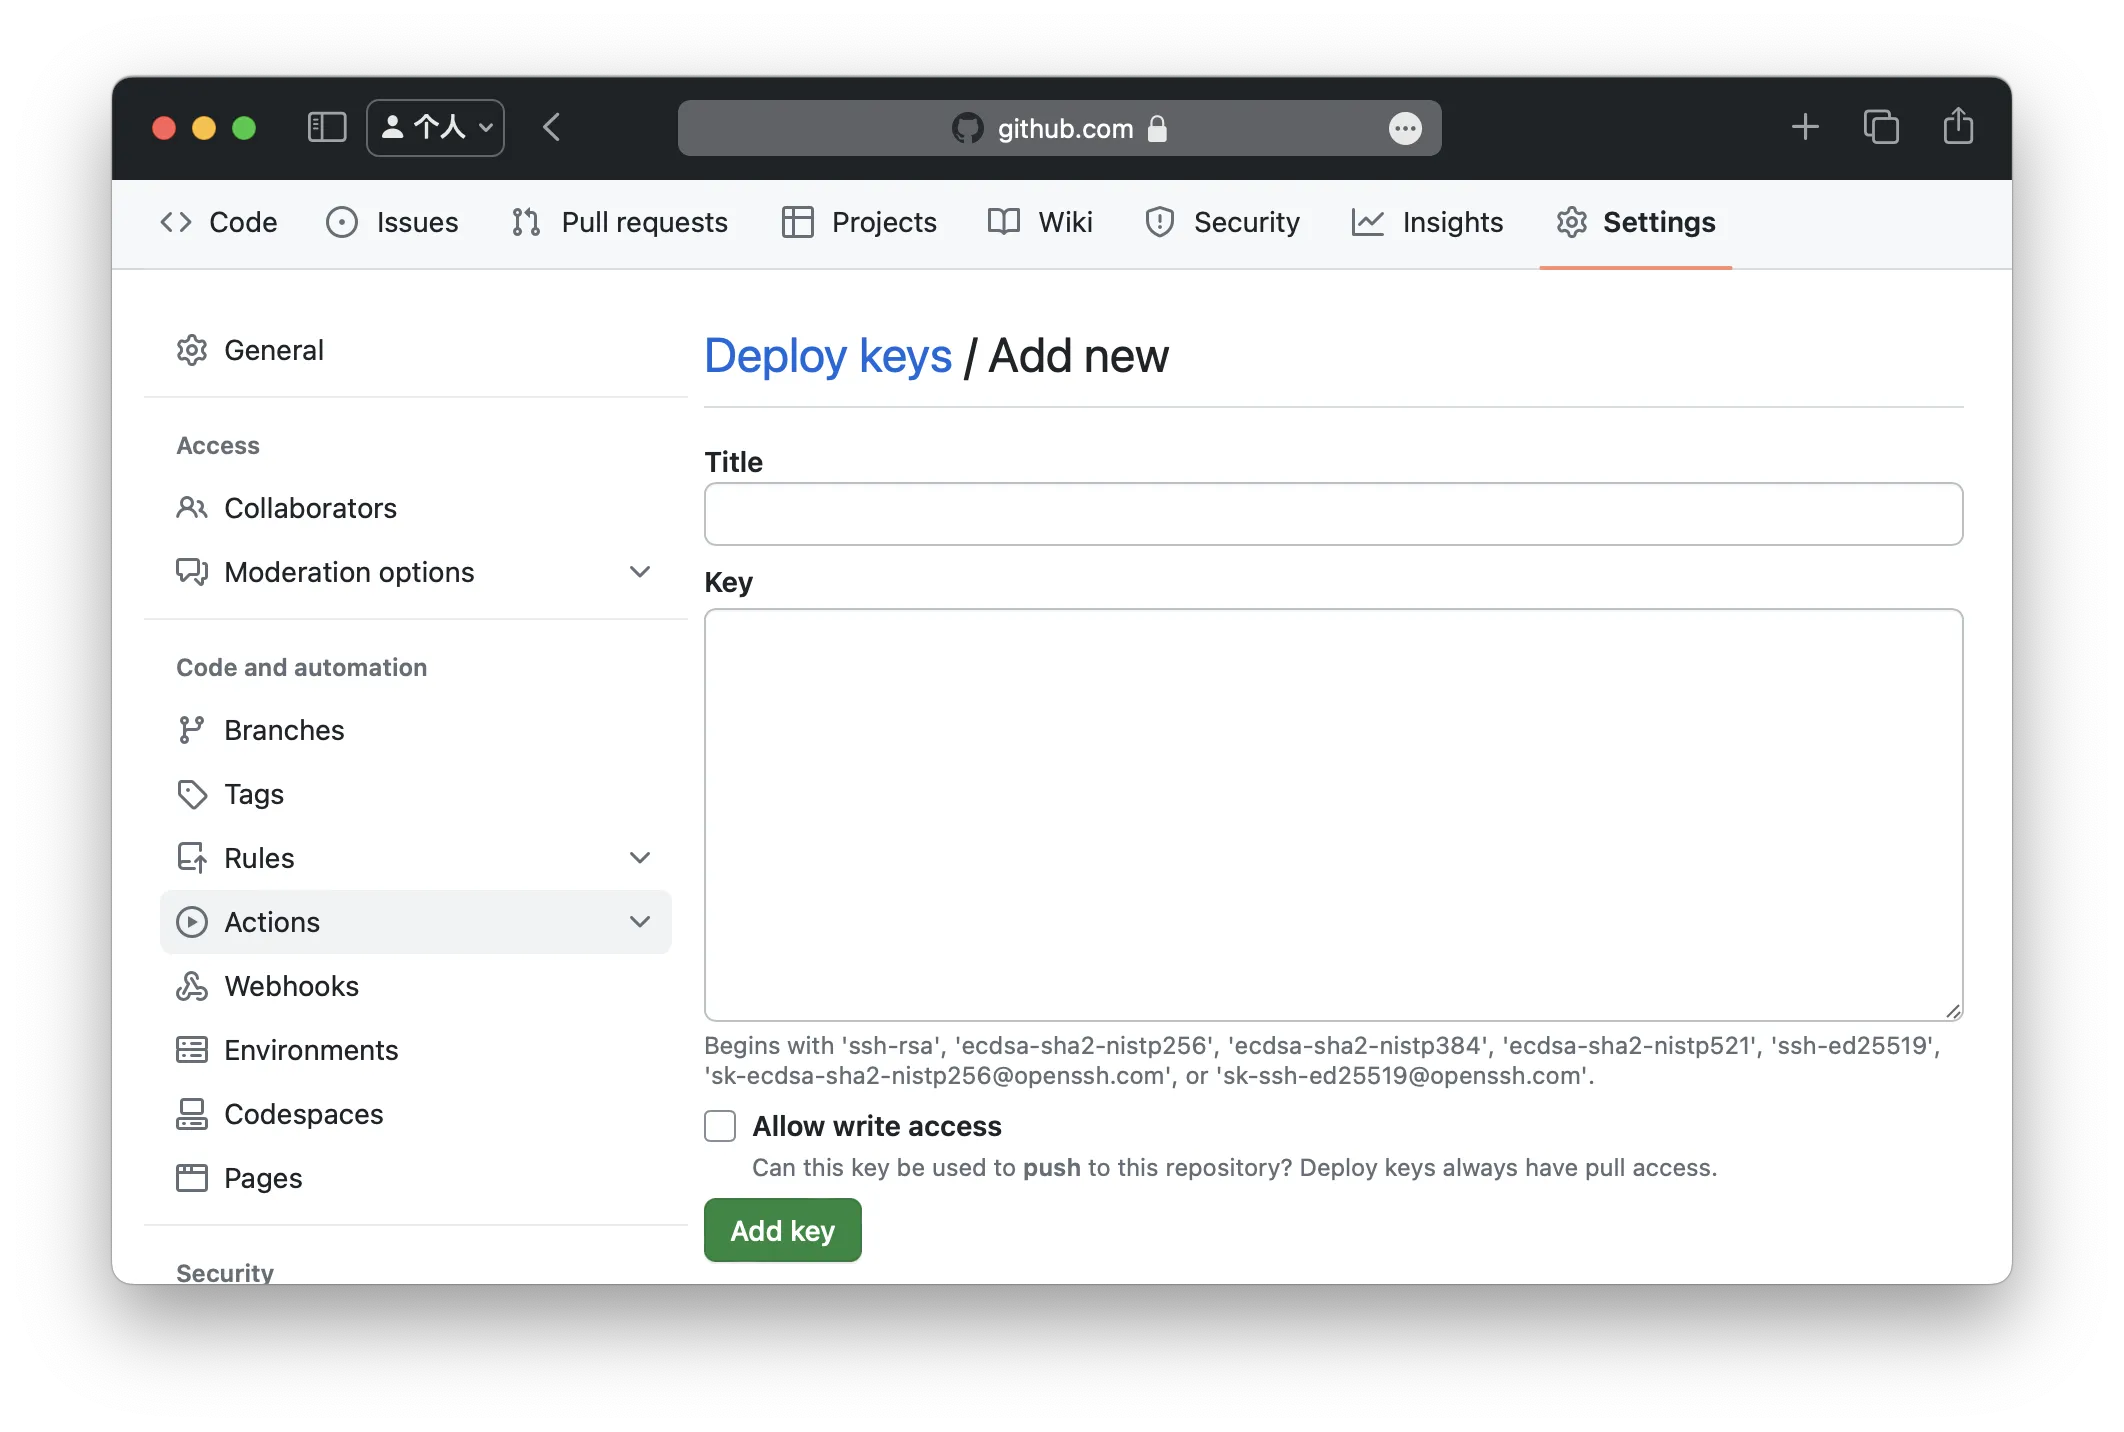
把公钥添加到 Github 仓库的 Deploy keys 中
把私钥到放到服务器的用于发布项目的用户的
~/.ssh/id_rsa路径,以便 Github Actions 用 SSH 连接服务器拉取 Github 上的代码。1
echo "private-key" >> ~/.ssh/id_rsa
Github Actions 配置
我们使用 appleboy/ssh-action@master 这个 Github Action 用 ssh 来连接服务器,然后执行命令来部署项目。为了安全起见,我们把服务器 host 和端口,还有 ssh 密钥都配置到 Github 仓库的 Secrets 中,这样就不会把服务器的信息暴露到配置文件中。
准备部署 SSH 密钥
再生成 SSH 密钥对用于发布项目
把公钥添加到服务器的
~/.ssh/authorized_keys文件中1
echo "public-key" >> ~/.ssh/authorized_keys
在 Github 仓库的 Settings -> Secrets -> Actions 中添加名为
key的 secret,值为私钥。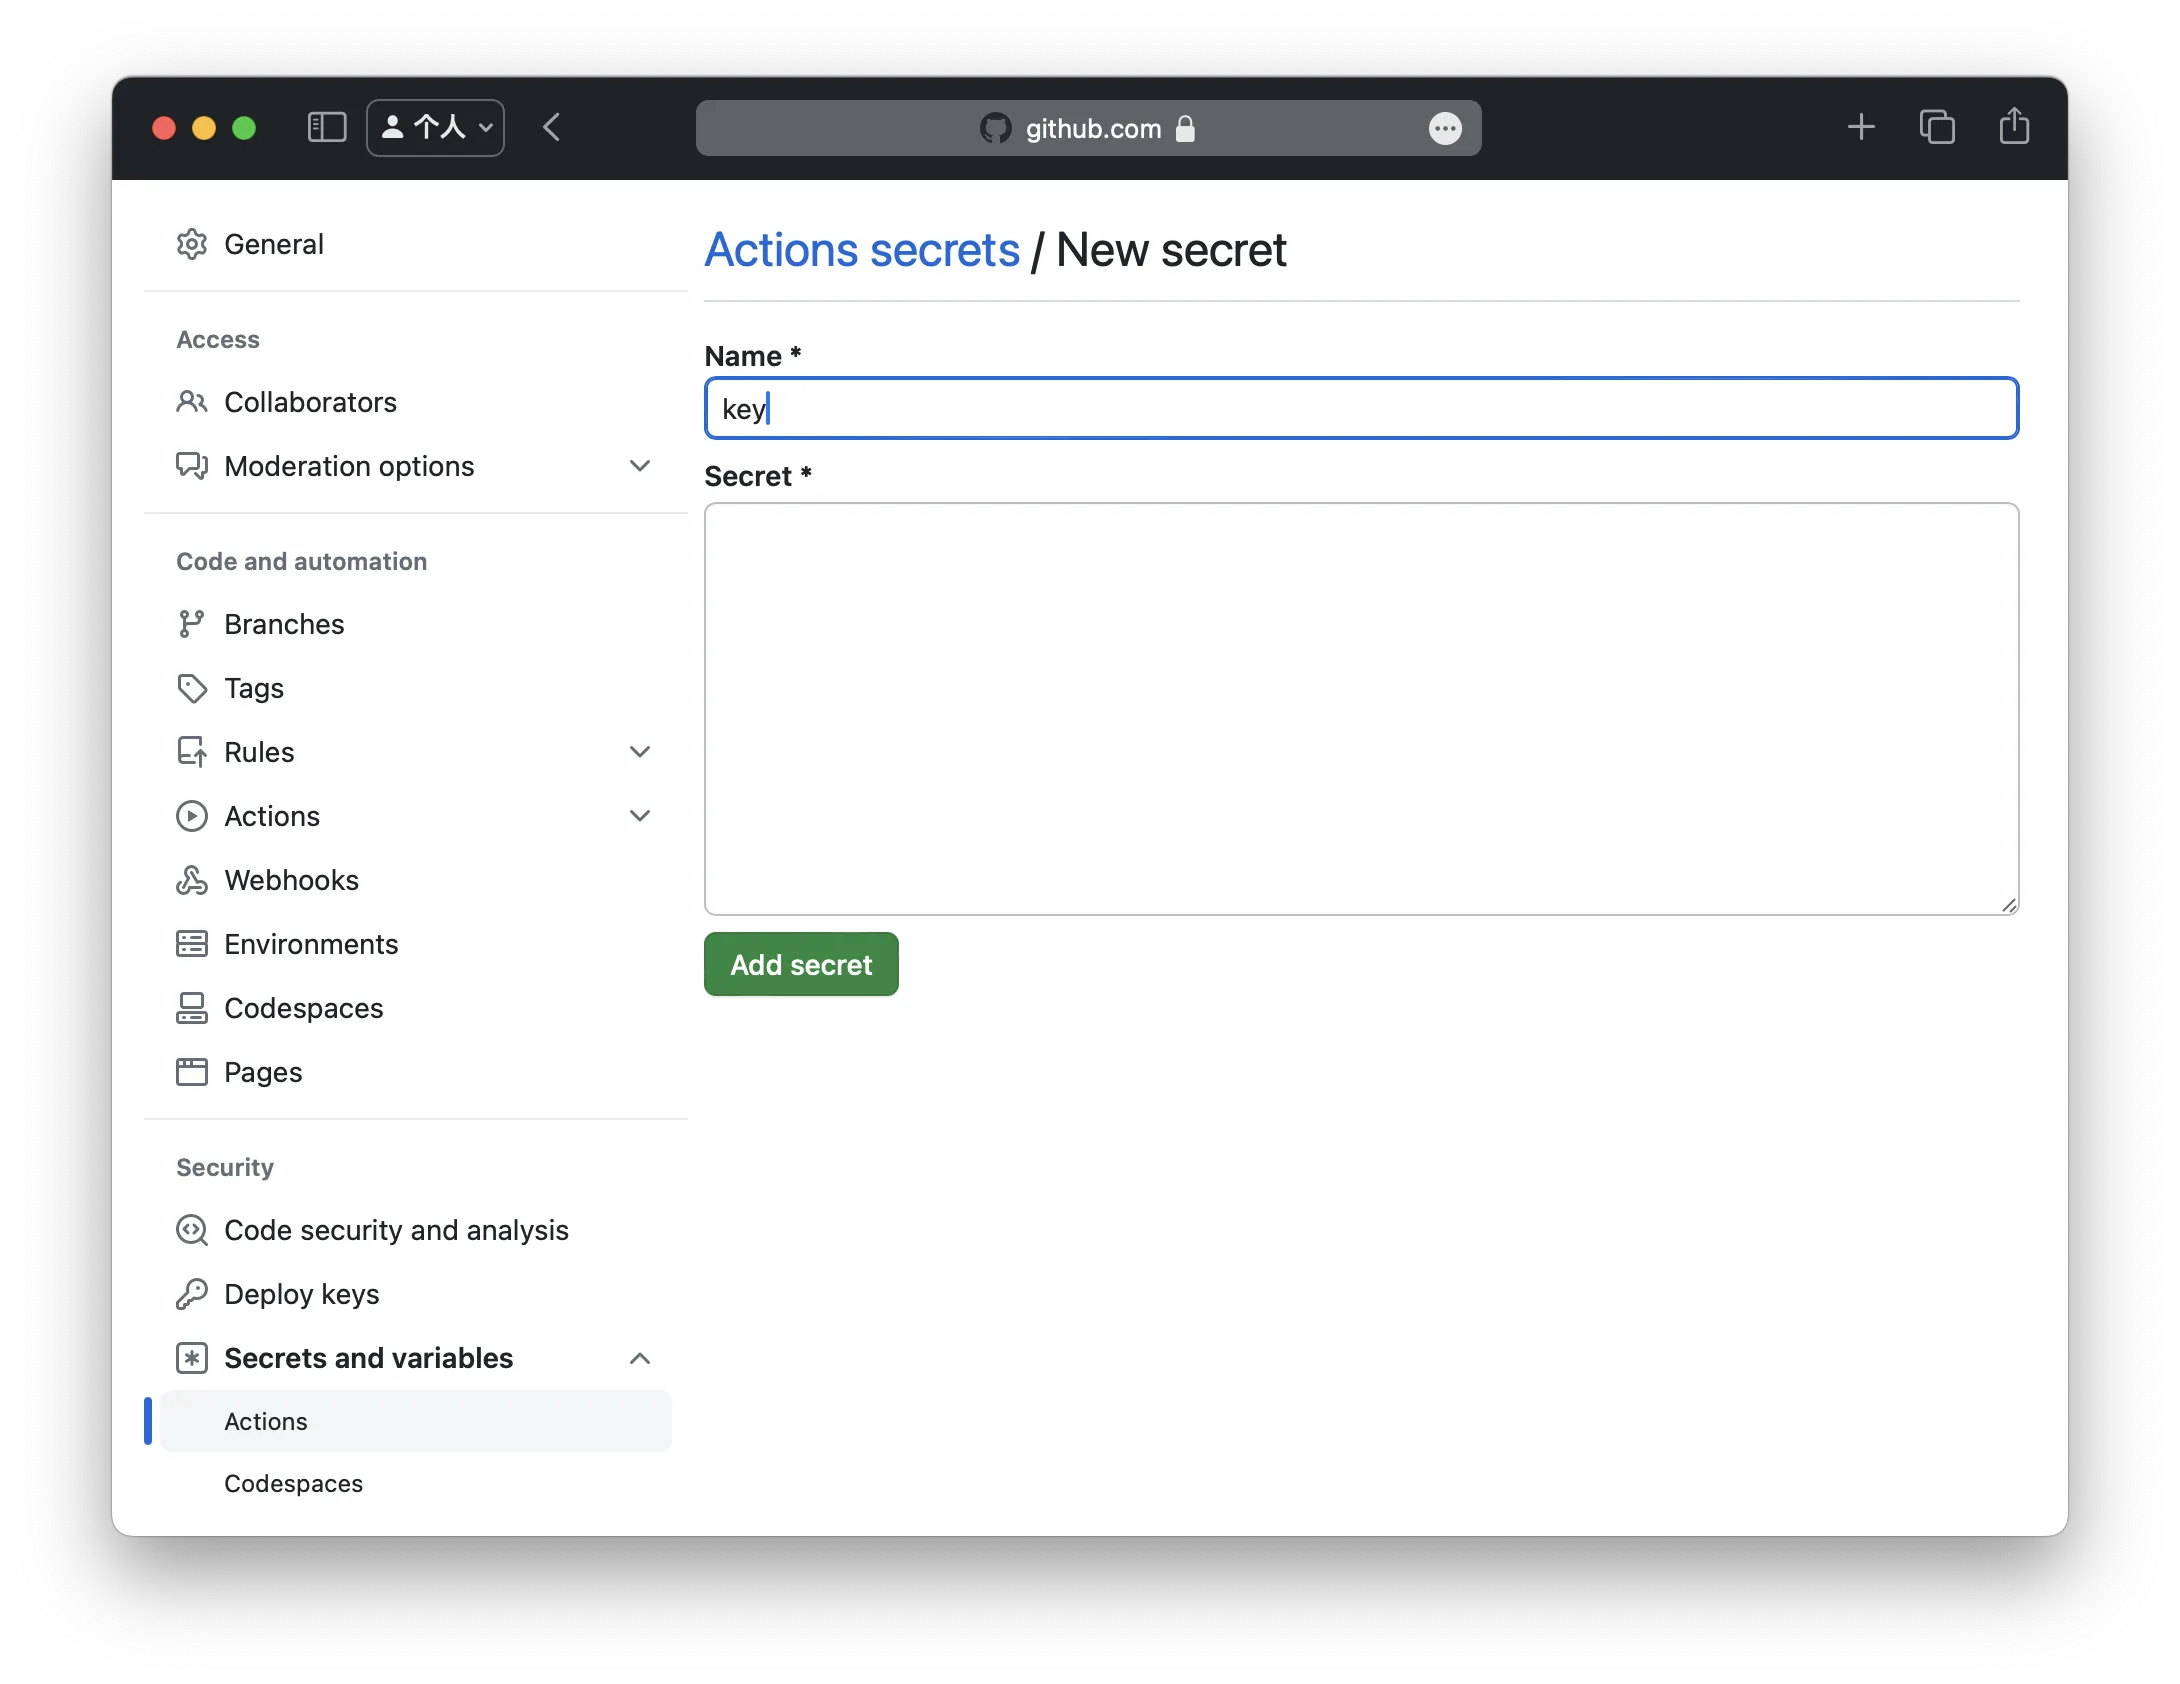
设置 host 和端口
同样在 Github 仓库的 Settings -> Secrets -> Actions 中添加 host 和 port。
创建 Github Actions 配置文件
在仓库的根目录中创建文件夹 .github/workflows。在此文件夹中创建一个 .yml 后缀的文件。
在配置文件中指定main分支在 push 时触发 Github Actions,然后指定一个 job 名为 deploy,在这个 job 中使用 appleboy/ssh-action@master 这个 Github Action 来连接服务器,然后执行部署脚本。在 Github Actions 中可以使用 Secrets 中的变量,这样就不会把服务器的信息暴露到配制文件中。
部署脚本首先用 git clone 拉取代码, 然后安装依赖,最后使用 PM2 启动项目。最后用 pm2 save 保存项目配置,以便在服务器重启后自动启动项目。
1 | on: |
此后每次 push 到 main 分支时,Github Actions 就会自动部署项目到服务器上。